- A+

Brother HL2140 Printer How to Reset to Factory Settings
If you are having issues with your Brother HL2140 printer, and basic troubleshooting doesn't seem to solve the problem, you can try resetting the printer to its factory settings. This can help clear any errors or malfunctions caused by software issues, as well as remove any custom settings that may be interfering with the printer's performance. Here's how to do it:
Step 1: Turn off the printer
Make sure the printer is turned off before you begin the reset process. If the printer is currently in use, wait for it to finish printing and turn it off afterward.
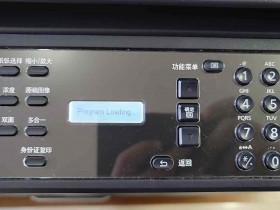
Step 2: Press and hold the 'go' button
Locate the 'go' button on the front of the printer. Press and hold this button down while you turn on the printer. Keep the button pressed until the printer's LEDs start flashing.
Step 3: Release the button
Release the 'go' button once the LEDs start flashing. Wait for a few seconds, and then press the 'go' button again. The LEDs should stop flashing and the printer will be reset to its factory settings.
Step 4: Print a test page
After resetting the printer, it's a good idea to print a test page to make sure everything is working correctly. You can do this by pressing the 'go' button three times quickly. The printer will print a test page, which will show you whether or not the reset was successful and the printer is functioning properly.
Conclusion
Resetting your Brother HL2140 printer to its factory settings can help clear up any software issues and improve the printer's performance. Follow the simple steps above to complete the reset process, and your printer should be functioning properly in no time.