- A+

Introduction
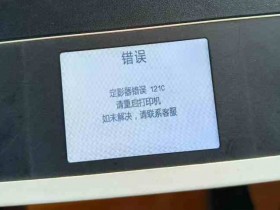
Resetting your Canon printer is sometimes necessary to fix issues such as paper jams, error messages, or an inaccurate ink level. This step-by-step guide will walk you through the process of resetting your Canon printer.
Step 1: Turn off the printer
Make sure your printer is turned off. Check that the power light is not illuminated and the printer is completely silent.
Step 2: Press and hold the "Resume/Cancel" button
Press and hold the "Resume/Cancel" button, which is the button with a red triangle next to it. Hold it down for about five seconds, then release it.
Step 3: Press the "Power" button
While still holding the "Resume/Cancel" button, press the "Power" button and keep both buttons pressed. Do this for about five seconds, then release both buttons.
Step 4: Wait for the printer to start
Wait for your Canon printer to go through its startup process. The lights will flash and the printer may make some noise as it restarts.
Step 5: Release the "Resume/Cancel" button
Release the "Resume/Cancel" button once the printer has restarted. This step completes the reset process and your Canon printer should now be ready for use.
Tips and tricks
If you encounter any issues after resetting your Canon printer, there may be other underlying problems. It is important to differentiate between software and hardware issues. Resetting your printer is a software fix and may not resolve hardware problems such as a damaged print head or faulty ink cartridge.
If your printer is still not functioning properly after resetting it, it may be necessary to seek help from a professional technician.
Conclusion
Resetting your Canon printer is a quick and easy way to resolve many common issues. By following this step-by-step guide, you can be confident that you are resetting your Canon printer correctly and getting it back to functioning as it should.