- A+

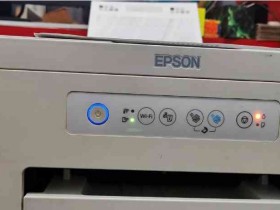
Step 1: Power on the printer
Power on the printer by pressing the power button located at the top of the printer. The printer will make several beeps indicating that it has been turned on.
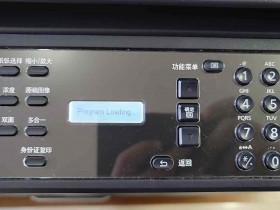
Step 2: Access the Configuration Menu
Once the printer has powered on, press the "Menu" button on the printer's control panel. This will bring up the Configuration Menu on the printer's LCD display.
Step 3: Navigate to the Reset Menu
Use the up and down arrows to navigate through the Configuration Menu until you reach the "Reset" menu. Press the "OK" button to enter the Reset menu.
Step 4: Select the Reset Option
Once in the Reset menu, use the up and down arrows to navigate to "Reset All". Press the "OK" button to select this option.
Step 5: Confirm the Reset
The printer will now ask for confirmation to reset all settings to their default values. Use the up and down arrows to select "Yes" and press the "OK" button.
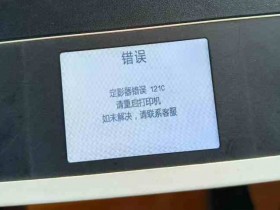
Step 6: Finalize the Reset
The printer will now reset itself and the LCD display will show "Reset Complete". The reset process is now complete and the printer is ready for use.